BeOS 5 running as a Virtual Machine inside VMware vSphere 6
Open your VMware vSphere Client, then Create a new Virtual Machine ( I used Version 11).
You should select the Windows 2000 as the base OS because it will give you multiple vCPUs and the “Flexible” network.
The “Flexible” NIC is needed if you use the BeOS Network driver I hyperlink below.
When you are setting up the Virtual Machine settings, be sure to use:
IDE for the Hard Drive.
Flexible for the New Network Card.
I used the Host Device for booting the BeOS 5 disc.
Give the Video
Card at least 32 MB.
I do recommend you set the RAM to 64 MB.
Select the highest vCPUs your VMmare vSphere host can provide
because it will affect the display within the Pulse application.
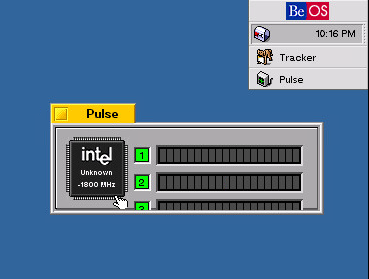
If you set the
VM to have only one vCPU during the OS install and then change
it to 4 vCPU at a later date, the Pulse application will look
like this:
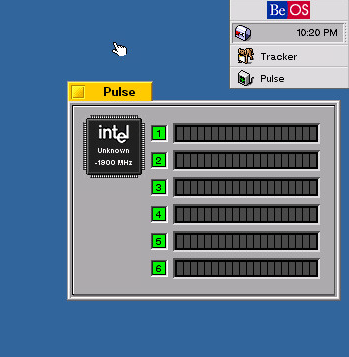
If you set the VM to have 6 vCPUs during the OS install, the
Pulse application will look like this:
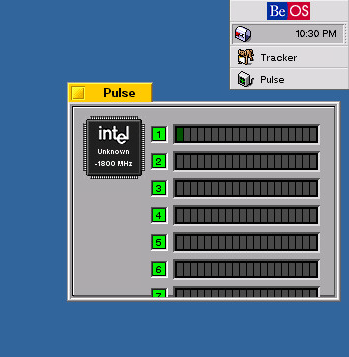
If you set the VM to have 6 vCPUs during the OS install and then
change it to 8 vCPUs at a later date, the Pulse application will
look like this:
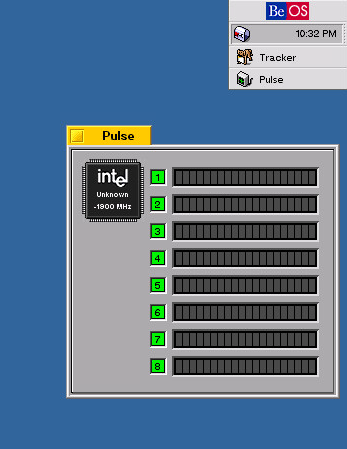
If you set the
VM to have 8 vCPUs during the OS install, the Pulse application
will look like this:
Here is a screen shot of my settings:
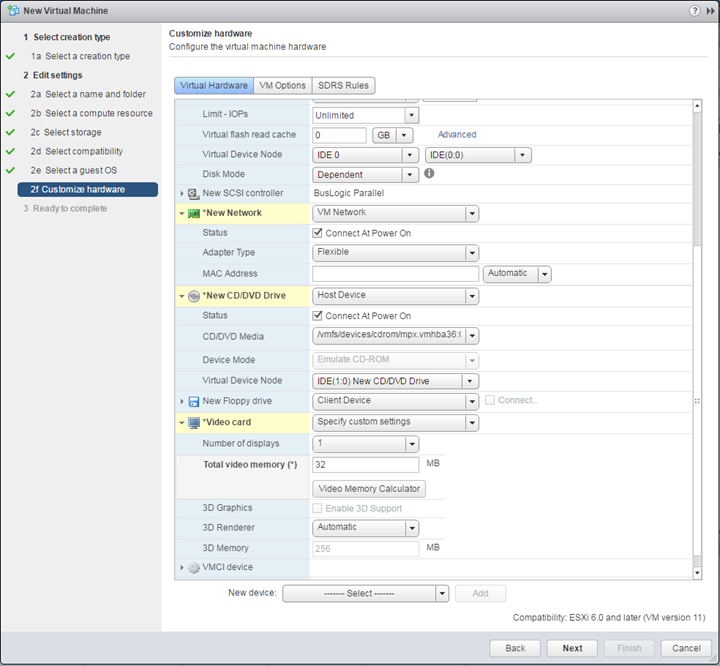
Open Traditional
VMware client, the Web Client does not work well with the mouse.
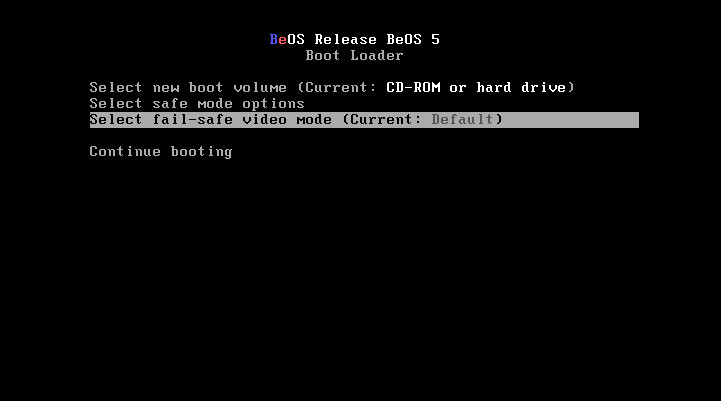
Before you start the VM, please review these steps to get higher
quality video:
While the VM is
booting, press the space bar and Select fail-safe video mode:
I recommend you
select 1024 768 16 because it is a good resolution for the
install:
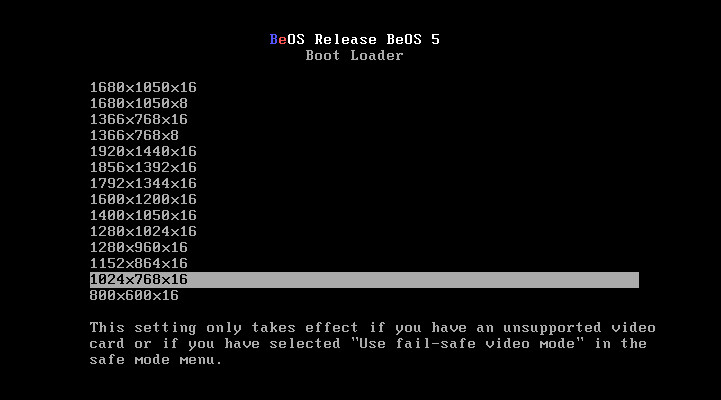
Select continue booting
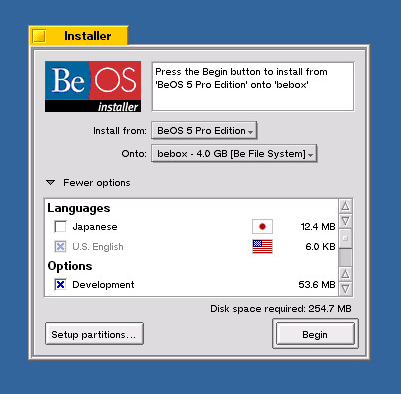
At the installer screen, expand the More Options:
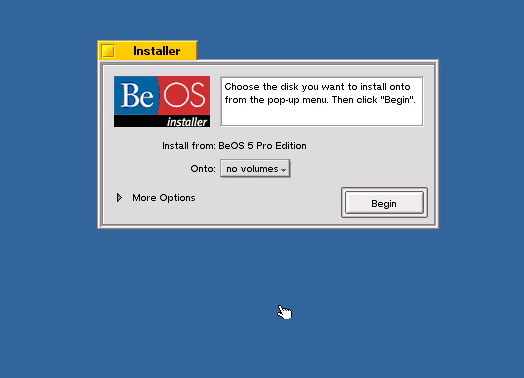
Then click on Setup Partitions:
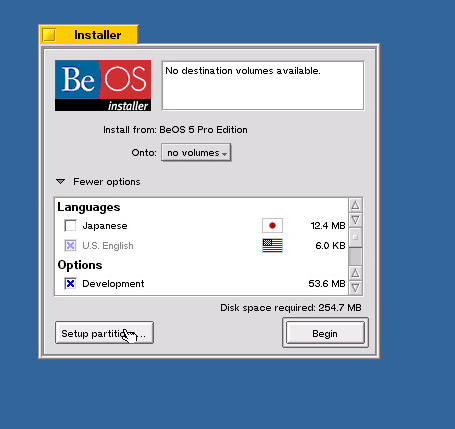
It should now look like this:
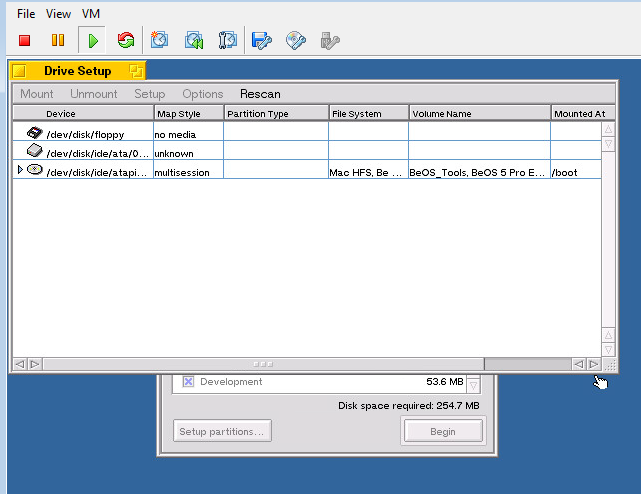
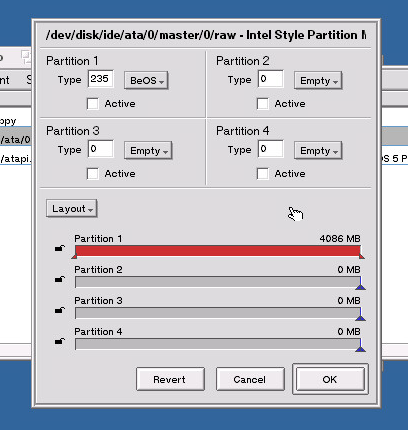
Select the unknown disc, then click on Setup, drag to Partition,
drag to and select Intel:
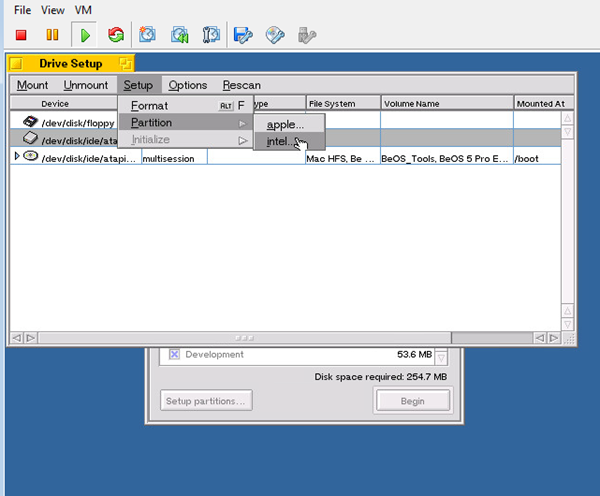
Your screen should look like this:
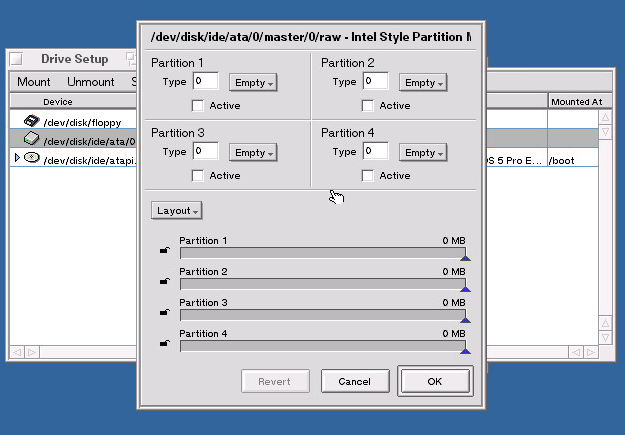
Setup your partition how you want, I find it easier to go with 100% BeOS:
You will need to change them by clicking on the “Empty“ and “Layout” boxes. Here is my finished layout:
A warning box will pop up about destroying all the data, click on proceed.
Now the Drive Setup Window will show an Intel Disk instead of “unknown”.
Now click on Setup, drag to Initialize, drag to BeOS, and select Be File System.
Click through the next two pop up windows, and then it will ask you to Mount the disk? Click on Mount.
Close the Drive Setup window.
You should now see the hard drive in the Installer Window:
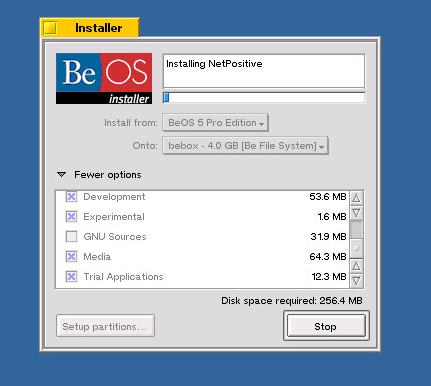
Installing…
Finished with the install:
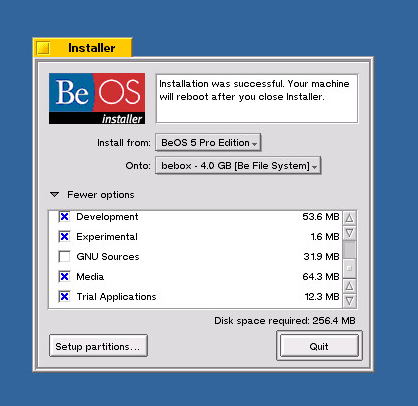
Select Quit and
the VM will reboot.
Network:
Open BeOS VM,
download and install lance driver from: http://www.vi-tech.org/beos.html
VMware virtual
NIC (vlance) driver for BeOS Version 0.6
You can also
download it from here: http://www.rodpeterson.com/beos/Drivers/VirtualNICBeOS.zip
Reboot
Turn on
networking inside the BeOS VM
You should see:
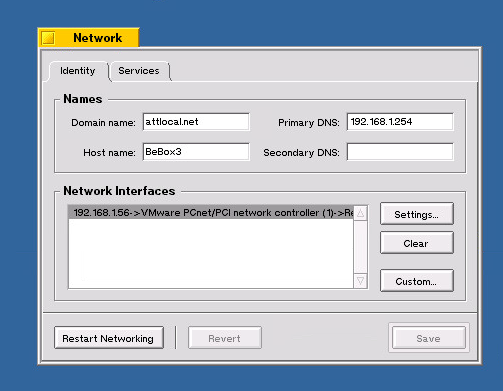
Click save, restart networking, try to browse the web.
Video:
When BeOS is booting up, I can press the space bar so I can change the video options to get color: 1024x768x16
To make the change permanent:
Find this folder inside BeOS: /boot/home/config/settings/kernel/drivers/sample
Open the VESA file, have the second line show:
mode 1280 1024 16
be careful that there are no extra spaces.
Copy the VESA file into this folder: /boot/home/config/settings/kernel/drivers/
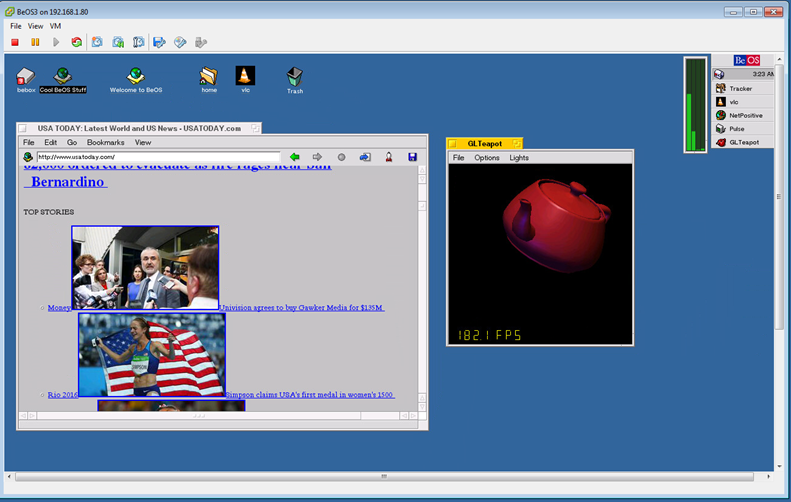
Now you should have a good color screen:
If you installed
BeOS 5, you can now apply BEOS patch 5.03 from here:
http://www.rodpeterson.com/beos/Updates/BeOS5-Update3-Pro-x86.zip
Now you can fix the timing issues with the CPU by applying this
patch:
http://www.rodpeterson.com/beos/Drivers/BeOS_CPU_Fix.pkg
You can also fix
the Time Zone and System Clock if you want.
Open the Terminal Application, type in this command:
date -s
“09/24/2021 16:38:00”
Reboot the
Virtual Machine.